


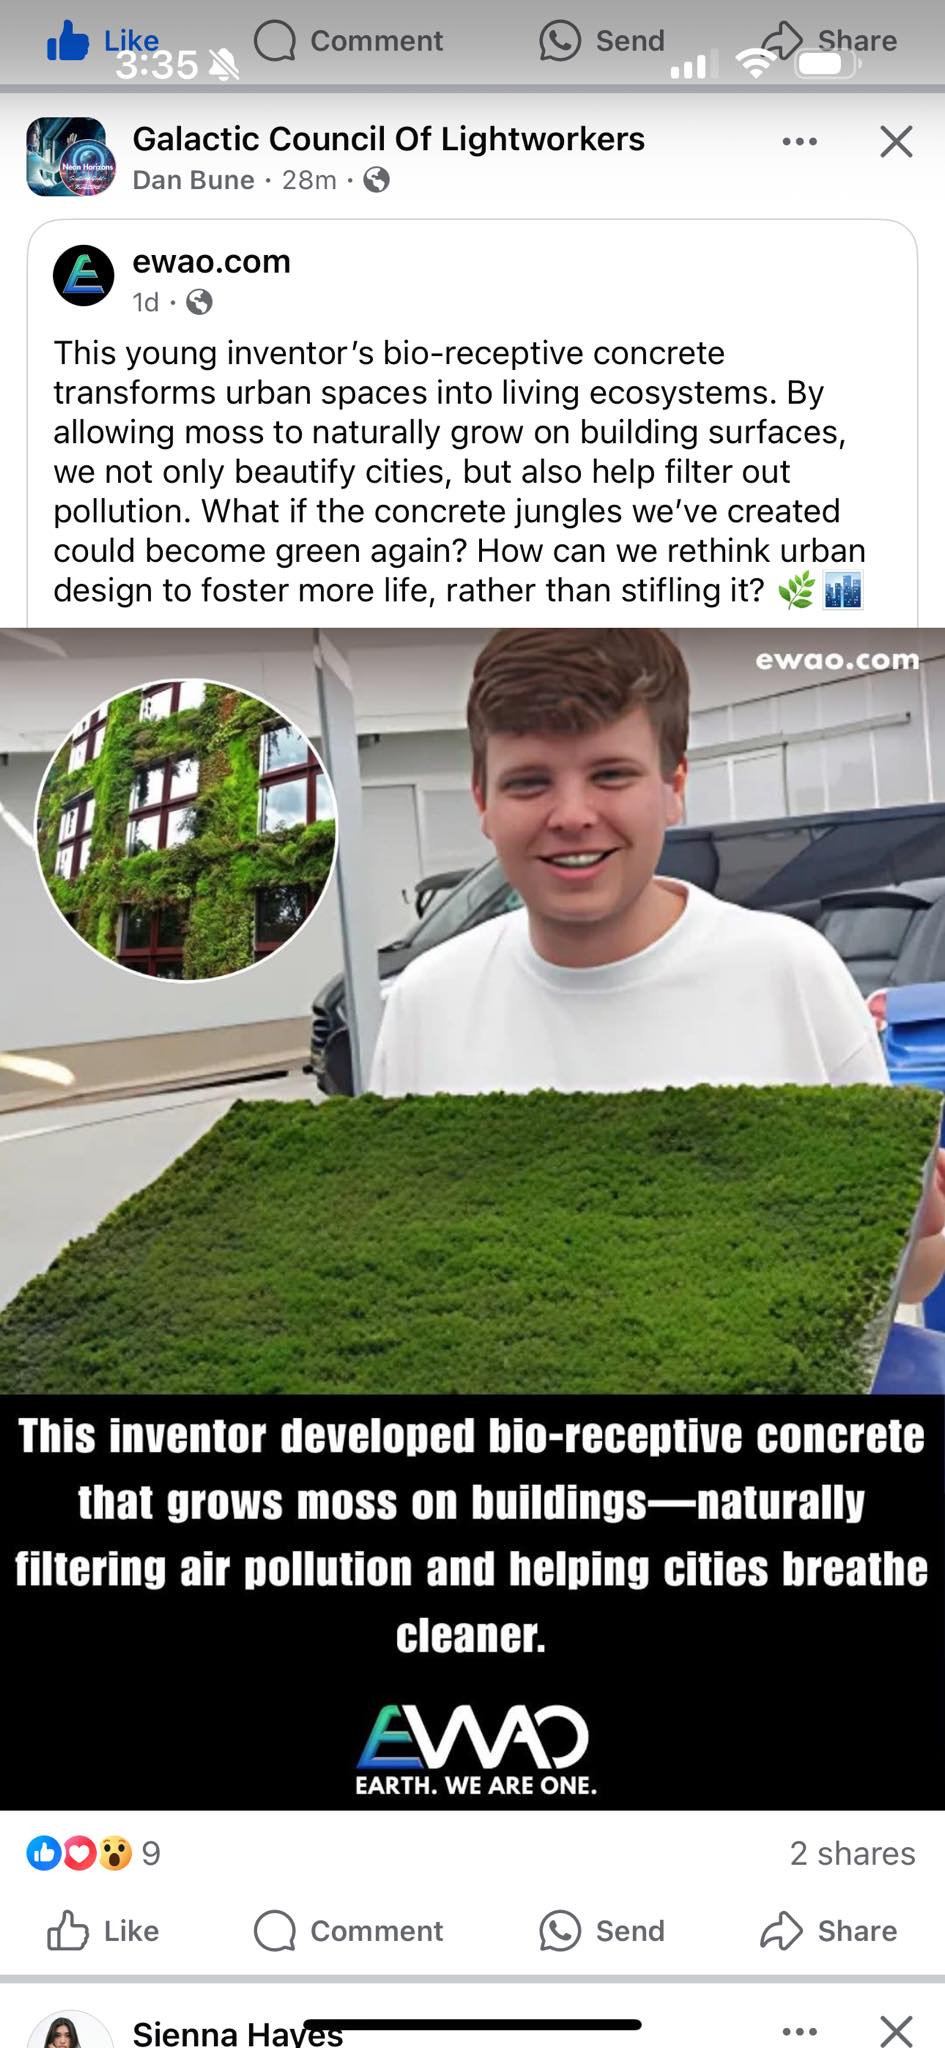
Love this vision! Making bio-receptive concrete at Rehan School for your future city is not only doable, it’s brilliant for reducing AC costs and greening up the urban jungle. Here’s a simple and scalable DIY guide for your team to start experimenting locally:
⸻
STEP 1: Understand the Science
Bio-receptive concrete is just regular concrete modified so moss can grow on it easily. Moss doesn’t have roots—it absorbs water and nutrients from the air. So, the surface has to be:
• Porous (to hold moisture)
• Nutrient-friendly (but not acidic)
• Slightly rough (so moss can latch on)
⸻
STEP 2: Materials You Need
For the Concrete Mix:
• Portland cement – the base binder
• Sand – fine texture helps moss grow
• Perlite or pumice – makes it porous and light
• Fly ash or crushed brick dust – adds nutrients (optional but helpful)
• Water – to mix
• Old moss or yogurt moss blend – to grow moss after
⸻
STEP 3: Mix the Concrete
Basic Recipe:
• 2 parts Portland cement
• 1.5 parts fine sand
• 1 part perlite or pumice
• 0.5 part fly ash (if available)
• Enough water to create a thick, moldable mix (not runny)
Mix until consistent. You can pour it into molds for tiles, wall panels, or even bricks.
⸻
STEP 4: Prepare Surface for Moss
Once dried and cured (at least 3-5 days):
• Roughen the surface slightly with sandpaper or wire brush.
• Keep the surface moist for a day before moss application.
⸻
STEP 5: Apply the Moss Slurry
Make Moss Slurry:
• A handful of moss
• 1 cup plain yogurt (or buttermilk)
• 1 cup water
• 1 tsp sugar
• Optional: a spoon of mud or compost
Blend it all. It should be a green smoothie (but not for drinking!).
Apply:
• Brush or paint it onto the concrete surface.
• Keep in a shaded, moist area for 2–3 weeks.
• Mist daily to keep it moist, not wet.
⸻
STEP 6: Maintain & Grow
• Moss prefers shade or indirect sunlight.
• It grows best in humid areas—great for Karachi mornings!
• Keep misting regularly for a few weeks until it settles.
⸻
STEP 7: Use It Smartly
Apply these green panels to:
• Outer school walls that get hot from the sun
• Rooftops
• School boundary walls
• Walkways and garden spaces
They’ll naturally cool down your buildings, reduce pollution, and look amazing.
⸻
Want to Involve Students?
Turn this into a “Green Wall Makers Club”:
• Teach them construction basics
• Let them mix and mold concrete
• Help them paint on moss
• Let them track growth like a science experiment
⸻
Would you like me to make:
• A step-by-step visual guide for students?
• A poster for your school wall?
• Or a short YouTube video script to teach it to others?
Let’s turn your school into a living, breathing forest!
⸻
STEP 1: Understand the Science
Bio-receptive concrete is just regular concrete modified so moss can grow on it easily. Moss doesn’t have roots—it absorbs water and nutrients from the air. So, the surface has to be:
• Porous (to hold moisture)
• Nutrient-friendly (but not acidic)
• Slightly rough (so moss can latch on)
⸻
STEP 2: Materials You Need
For the Concrete Mix:
• Portland cement – the base binder
• Sand – fine texture helps moss grow
• Perlite or pumice – makes it porous and light
• Fly ash or crushed brick dust – adds nutrients (optional but helpful)
• Water – to mix
• Old moss or yogurt moss blend – to grow moss after
⸻
STEP 3: Mix the Concrete
Basic Recipe:
• 2 parts Portland cement
• 1.5 parts fine sand
• 1 part perlite or pumice
• 0.5 part fly ash (if available)
• Enough water to create a thick, moldable mix (not runny)
Mix until consistent. You can pour it into molds for tiles, wall panels, or even bricks.
⸻
STEP 4: Prepare Surface for Moss
Once dried and cured (at least 3-5 days):
• Roughen the surface slightly with sandpaper or wire brush.
• Keep the surface moist for a day before moss application.
⸻
STEP 5: Apply the Moss Slurry
Make Moss Slurry:
• A handful of moss
• 1 cup plain yogurt (or buttermilk)
• 1 cup water
• 1 tsp sugar
• Optional: a spoon of mud or compost
Blend it all. It should be a green smoothie (but not for drinking!).
Apply:
• Brush or paint it onto the concrete surface.
• Keep in a shaded, moist area for 2–3 weeks.
• Mist daily to keep it moist, not wet.
⸻
STEP 6: Maintain & Grow
• Moss prefers shade or indirect sunlight.
• It grows best in humid areas—great for Karachi mornings!
• Keep misting regularly for a few weeks until it settles.
⸻
STEP 7: Use It Smartly
Apply these green panels to:
• Outer school walls that get hot from the sun
• Rooftops
• School boundary walls
• Walkways and garden spaces
They’ll naturally cool down your buildings, reduce pollution, and look amazing.
⸻
Want to Involve Students?
Turn this into a “Green Wall Makers Club”:
• Teach them construction basics
• Let them mix and mold concrete
• Help them paint on moss
• Let them track growth like a science experiment
⸻
Would you like me to make:
• A step-by-step visual guide for students?
• A poster for your school wall?
• Or a short YouTube video script to teach it to others?
Let’s turn your school into a living, breathing forest!
Love this vision! Making bio-receptive concrete at Rehan School for your future city is not only doable, it’s brilliant for reducing AC costs and greening up the urban jungle. Here’s a simple and scalable DIY guide for your team to start experimenting locally:
⸻
STEP 1: Understand the Science
Bio-receptive concrete is just regular concrete modified so moss can grow on it easily. Moss doesn’t have roots—it absorbs water and nutrients from the air. So, the surface has to be:
• Porous (to hold moisture)
• Nutrient-friendly (but not acidic)
• Slightly rough (so moss can latch on)
⸻
STEP 2: Materials You Need
For the Concrete Mix:
• Portland cement – the base binder
• Sand – fine texture helps moss grow
• Perlite or pumice – makes it porous and light
• Fly ash or crushed brick dust – adds nutrients (optional but helpful)
• Water – to mix
• Old moss or yogurt moss blend – to grow moss after
⸻
STEP 3: Mix the Concrete
Basic Recipe:
• 2 parts Portland cement
• 1.5 parts fine sand
• 1 part perlite or pumice
• 0.5 part fly ash (if available)
• Enough water to create a thick, moldable mix (not runny)
Mix until consistent. You can pour it into molds for tiles, wall panels, or even bricks.
⸻
STEP 4: Prepare Surface for Moss
Once dried and cured (at least 3-5 days):
• Roughen the surface slightly with sandpaper or wire brush.
• Keep the surface moist for a day before moss application.
⸻
STEP 5: Apply the Moss Slurry
Make Moss Slurry:
• A handful of moss
• 1 cup plain yogurt (or buttermilk)
• 1 cup water
• 1 tsp sugar
• Optional: a spoon of mud or compost
Blend it all. It should be a green smoothie (but not for drinking!).
Apply:
• Brush or paint it onto the concrete surface.
• Keep in a shaded, moist area for 2–3 weeks.
• Mist daily to keep it moist, not wet.
⸻
STEP 6: Maintain & Grow
• Moss prefers shade or indirect sunlight.
• It grows best in humid areas—great for Karachi mornings!
• Keep misting regularly for a few weeks until it settles.
⸻
STEP 7: Use It Smartly
Apply these green panels to:
• Outer school walls that get hot from the sun
• Rooftops
• School boundary walls
• Walkways and garden spaces
They’ll naturally cool down your buildings, reduce pollution, and look amazing.
⸻
Want to Involve Students?
Turn this into a “Green Wall Makers Club”:
• Teach them construction basics
• Let them mix and mold concrete
• Help them paint on moss
• Let them track growth like a science experiment
⸻
Would you like me to make:
• A step-by-step visual guide for students?
• A poster for your school wall?
• Or a short YouTube video script to teach it to others?
Let’s turn your school into a living, breathing forest!
0 Comments
0 Shares
53 Views